
How To Blowout Hair Like A Pro? But before we dive into the step-by-step process, let’s understand what a blowout is and why it’s a game-changer for achieving that salon look.
How To Blowout Hair Like A Pro: A Step-by-Step Guide
Are you tired of spending hours trying to achieve the perfect blowout, only to end up with frizzy and flat hair? Fear not, because in this article, I will share with you a simple and effective guide on how to blowout your hair like a pro.
This technique will leave your hair looking sleek, voluminous, and salon-worthy. No matter your hair type or length, follow these steps and be amazed at the results.
What is a Blowout?
A blowout is a styling technique that uses a combination of heat, tension, and product to blow-dry the hair into a desired style. It involves using a round brush and a blow dryer to create volume, smoothness, and shine. A professional blowout can last for days and helps to extend the life of your hairstyle.
Tools You’ll Need
Before we get started, make sure you have the following tools on hand:
– Blow dryer with a concentrator nozzle
– Round brush (preferably a ceramic or tourmaline one for better grip and less frizz)
– Clips or hair ties to section your hair
– Heat protectant spray
– Volumizing spray or mousse (optional)
Now, let’s get into the step-by-step guide on how to achieve a perfect blowout.
Step 1: Prepare Your Hair
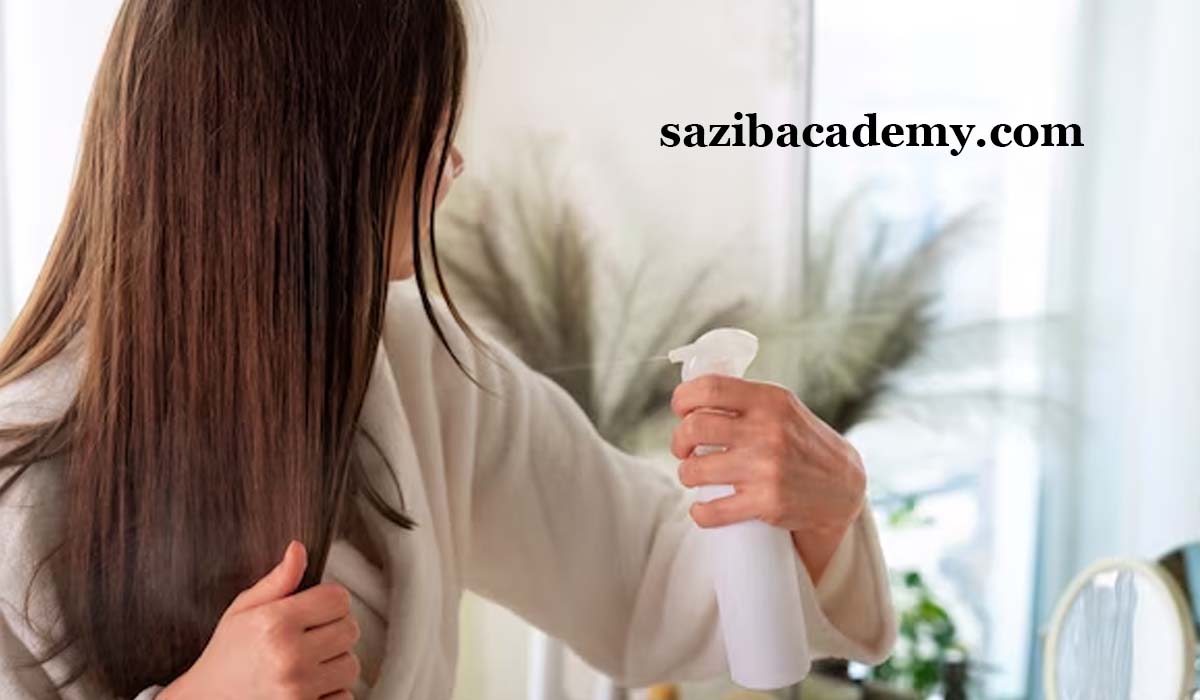
Before blow drying, it’s essential to prep your hair properly. Start by washing and conditioning your hair as usual. Towel dry your hair gently to remove excess water, but avoid rubbing it vigorously as this can cause frizz. Apply a heat protectant spray from roots to ends to shield your hair from heat damage.
Step 2: Section Your Hair
To achieve a professional-looking blowout, sectioning your hair is key. Divide your hair into three sections: top, middle, and bottom. Clip or tie each section out of the way while you work on the remaining sections.
Step 3: Dry the Bottom Section First
Start with the bottom section and clip the rest of your hair out of the way. Using a round brush, grab a one-inch section of hair, place the brush underneath it, and roll it towards your scalp.
Hold the blow dryer over the brush, pointing the nozzle down, and begin drying your hair from the roots to the ends. Keep the tension on the hair as you roll the brush and follow it with the blow dryer. Repeat this process for all the hair in the bottom section.
Step 4: Move on to the Middle Section
Take down the middle section, clip the top section out of the way, and follow the same process as the bottom section. Pro tip: For more volume, wrap the hair around the brush in the opposite direction of the hair growth.
Step 5: Finally, Dry the Top Section
Untie the top section and start blow drying your hair using the same technique as before. The only difference? For the top section, take larger sections of hair for a fuller blowout.
Step 6: Add Some Extra Volume
For an extra voluminous blowout, use a volumizing spray or mousse before blow-drying your hair. Apply it to the roots and comb it through to distribute the product evenly. Flip your head upside down and blow dry for a few seconds for added lift.
Step 7: Set Your Blowout
Once your hair is completely dry, set your blowout by using the cool setting on your blow dryer. This will help to close the hair cuticles and seal in the shine. Run your fingers through your hair to break up any clumps and add some extra volume.
How To Blowout Hair Like A Pro
Congratulations, you have just achieved a salon-worthy blowout right at home! Now, let’s address some common questions about blowouts.
Frequently Asked Questions (FAQs)
1. Is blow-drying your hair damaging?
– Blow-drying can cause damage if not done correctly. Always use a heat protectant before blow-drying, keep the dryer at a safe distance from your hair, and limit blow-drying to 2-3 times a week.
2. How do you prevent frizz while blow-drying?
– Frizz is a common issue while blow-drying. Use a ceramic or tourmaline round brush as it helps to reduce static and frizz. Also, make sure to use a heat protectant and dry your hair in sections.
3. Can I blow dry my hair if it’s wet?
– No, it’s essential to towel dry your hair before blow-drying. Start with damp hair rather than soaking wet hair to speed up the process and avoid heat damage.
4. Do I need to use a round brush for a blowout?
– A round brush helps to create that sleek and bouncy effect, but you can also use a paddle brush if you prefer a straighter look.
5. How long should I blow-dry my hair?
– The time it takes to blow-dry your hair depends on its length and thickness. On average, it takes about 20 minutes to achieve a blowout, but it can take longer for thicker or longer hair.
6. Can I blow dry my hair if it’s curly?
– Yes, you can still achieve a blowout on curly hair. Use a diffuser attachment on your blow dryer to dry your hair without disrupting the natural curls. You can also blow dry your hair straight and use a curling iron to add curls back in.
7. How do I maintain my blowout?
– To prolong the life of your blowout, tie your hair in a loose bun or use a satin/silk pillowcase while sleeping. You can also use dry shampoo to refresh and add volume between washes.
In conclusion, with some patience and practice, anyone can learn how to blowout their hair like a pro. Don’t get discouraged if it doesn’t turn out perfect the first time around. Keep following these tips and tricks, and soon you will have bouncy, voluminous hair every time you blow dry. Remember to use a heat protectant, and don’t forget to have fun and experiment with different products and techniques. Happy styling!